Signing up for PhotoShop
- Press start window,
 then go to
  Adobe Photoshop 2024 : click on application to open
- When prompted sign in with Continue with Google

- StudentID#@students.cheneysd.org → 1234567@students.cheneysd.org
Find Adobe Photoshop:
PhotoShop Scanger Hunt - First Assignment
- you will download this file by clicking this button
- go to top right of the browser and click the download button
 to find the file to open
- if you can not open it from step above go to the computer download files to open it
- Once you finish filling out the Scavenger Hunt you must attach and turn in on google classroom
Lesson 1 cutting tools
- you will download this file by clicking this button
- go to top right of the browser and click the download button to find the file to open
- if you can not open it from step above go to the computer download files to open it
- Once you open the file in google it will open Photoshop but takes a few moments
Turn off the → AI (Contextual Task Bar) ←
Go to top menu bar click Window > Contextual Task Bar(it is close to bottom of list) > toggle the check mark off
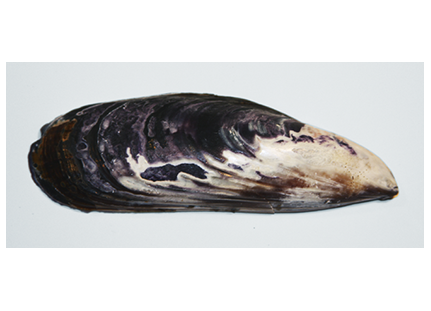
Cutting tools Assests
← Picture Download ← Picture Download
Lesson Video:

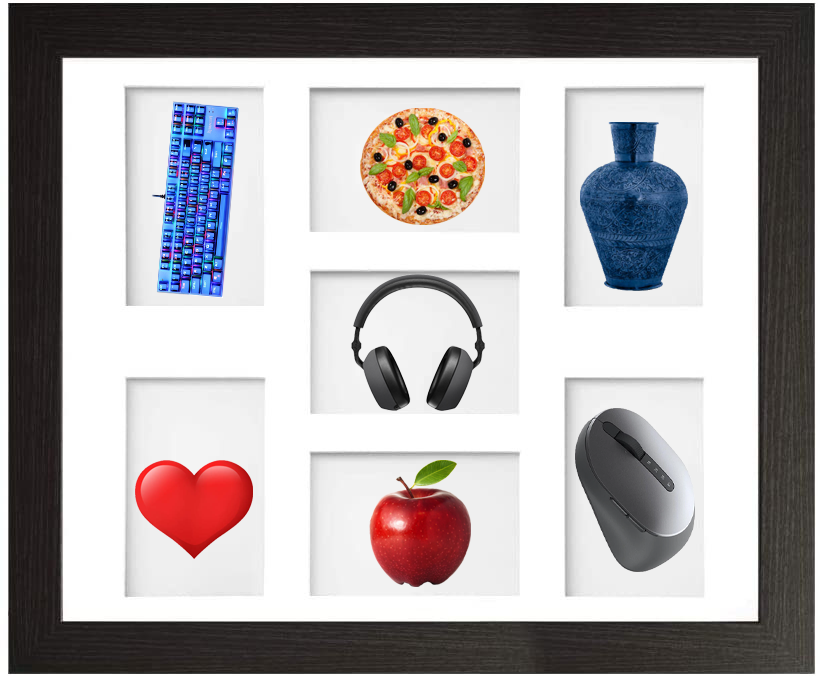
Frame Cutting CFA
- you will download this file by clicking this button
- go to top right of the browser and click the download button to find the file to open
- if you can not open it from step above go to the computer download files to open it
- Once you open the file in google it will open Photoshop but takes a few moments
You will arrange the CFA in this order

